How To Create A Google Map With Multiple Markers
This tutorial is going to show you how to create a map with multiple markers, style it however you would like and embed it anywhere— just like this:
You can't use Google Maps to create a map with multiple markers— instead you'd have to use Google My Maps which is more difficult to use and isn't very pretty when embedded.
So instead we are going to use Atlist to create the map. I'm actually the co-creator of Atlist and we created it for this exact purpose: we wanted to make it easier to create beautiful, powerful maps.
So let's do this.
Table of Contents
- Introduction
- 1. Create A Map
- 2. Customization & Style
- 3. Embedding
1. Create A Map
If you're not already an existing Atlist user, you'll need to sign up for a free account.
To begin, let's create a new map for our favourite burger and pizza spots in Toronto:
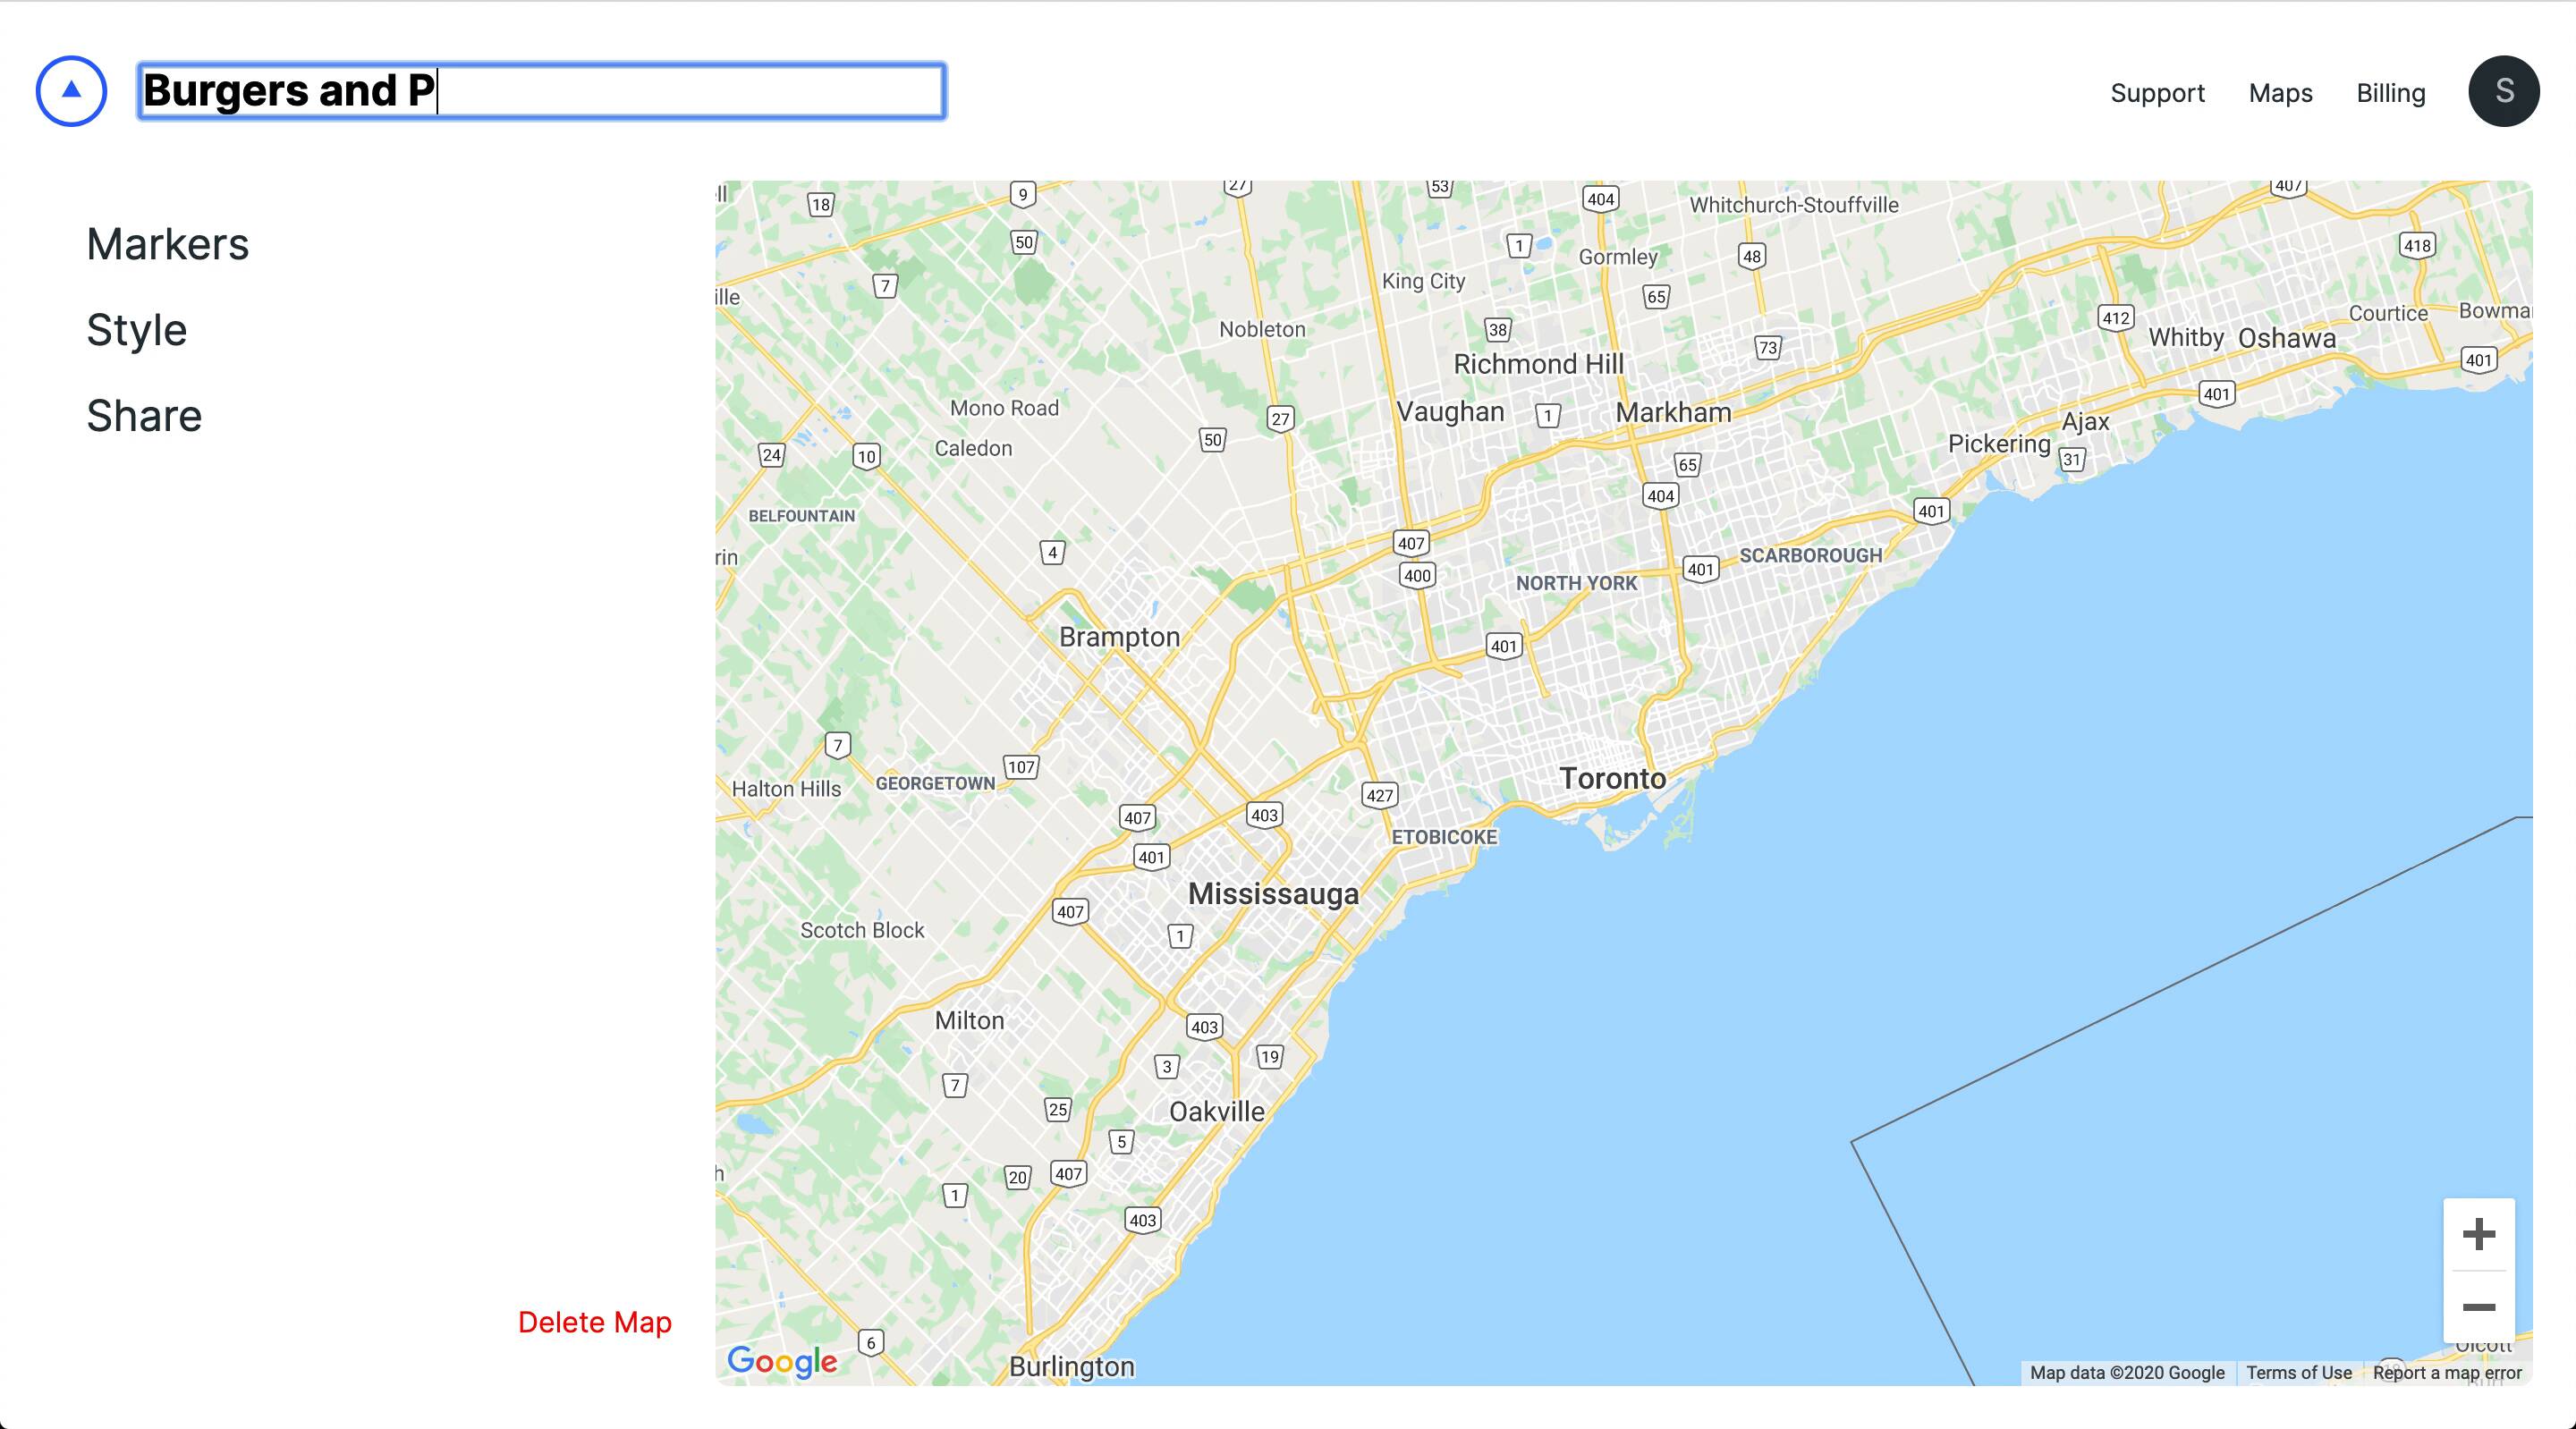

Then let's start searching to add markers:
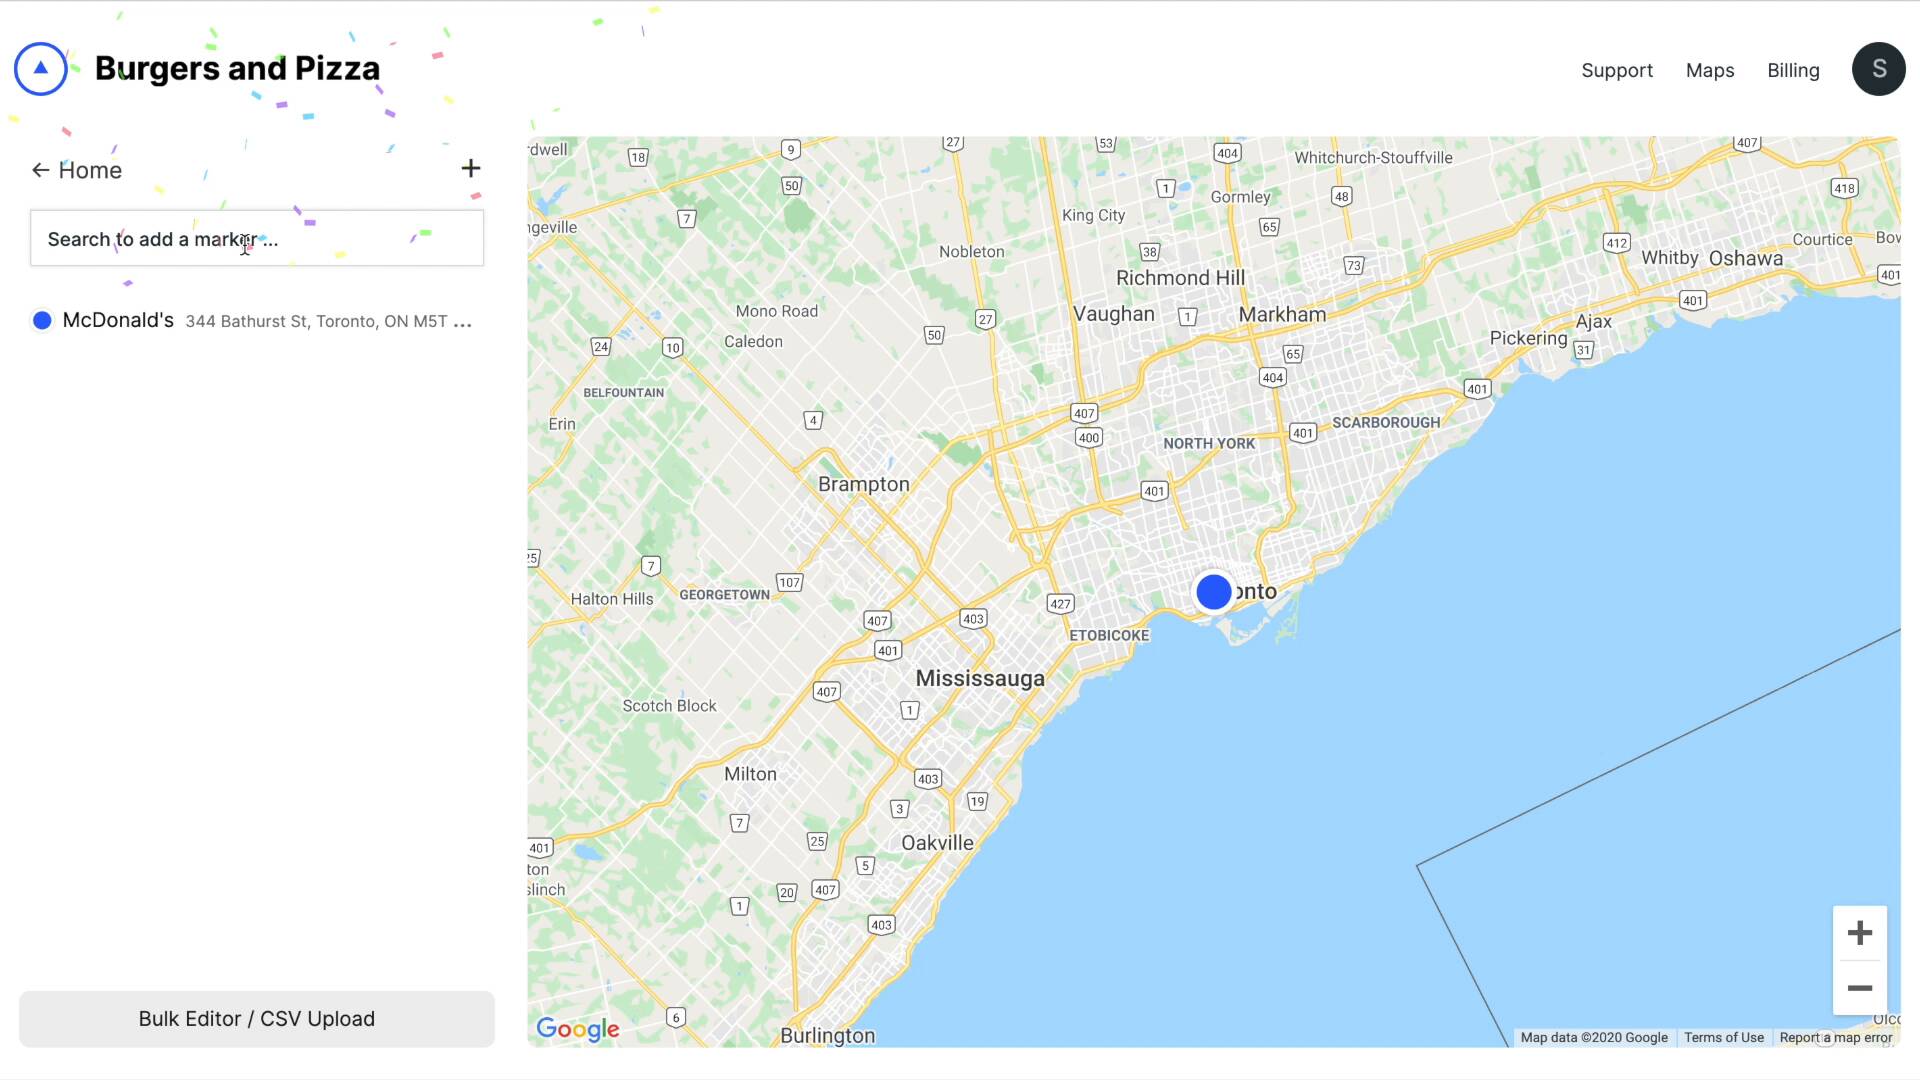

And we'll also also organize our markers into groups:
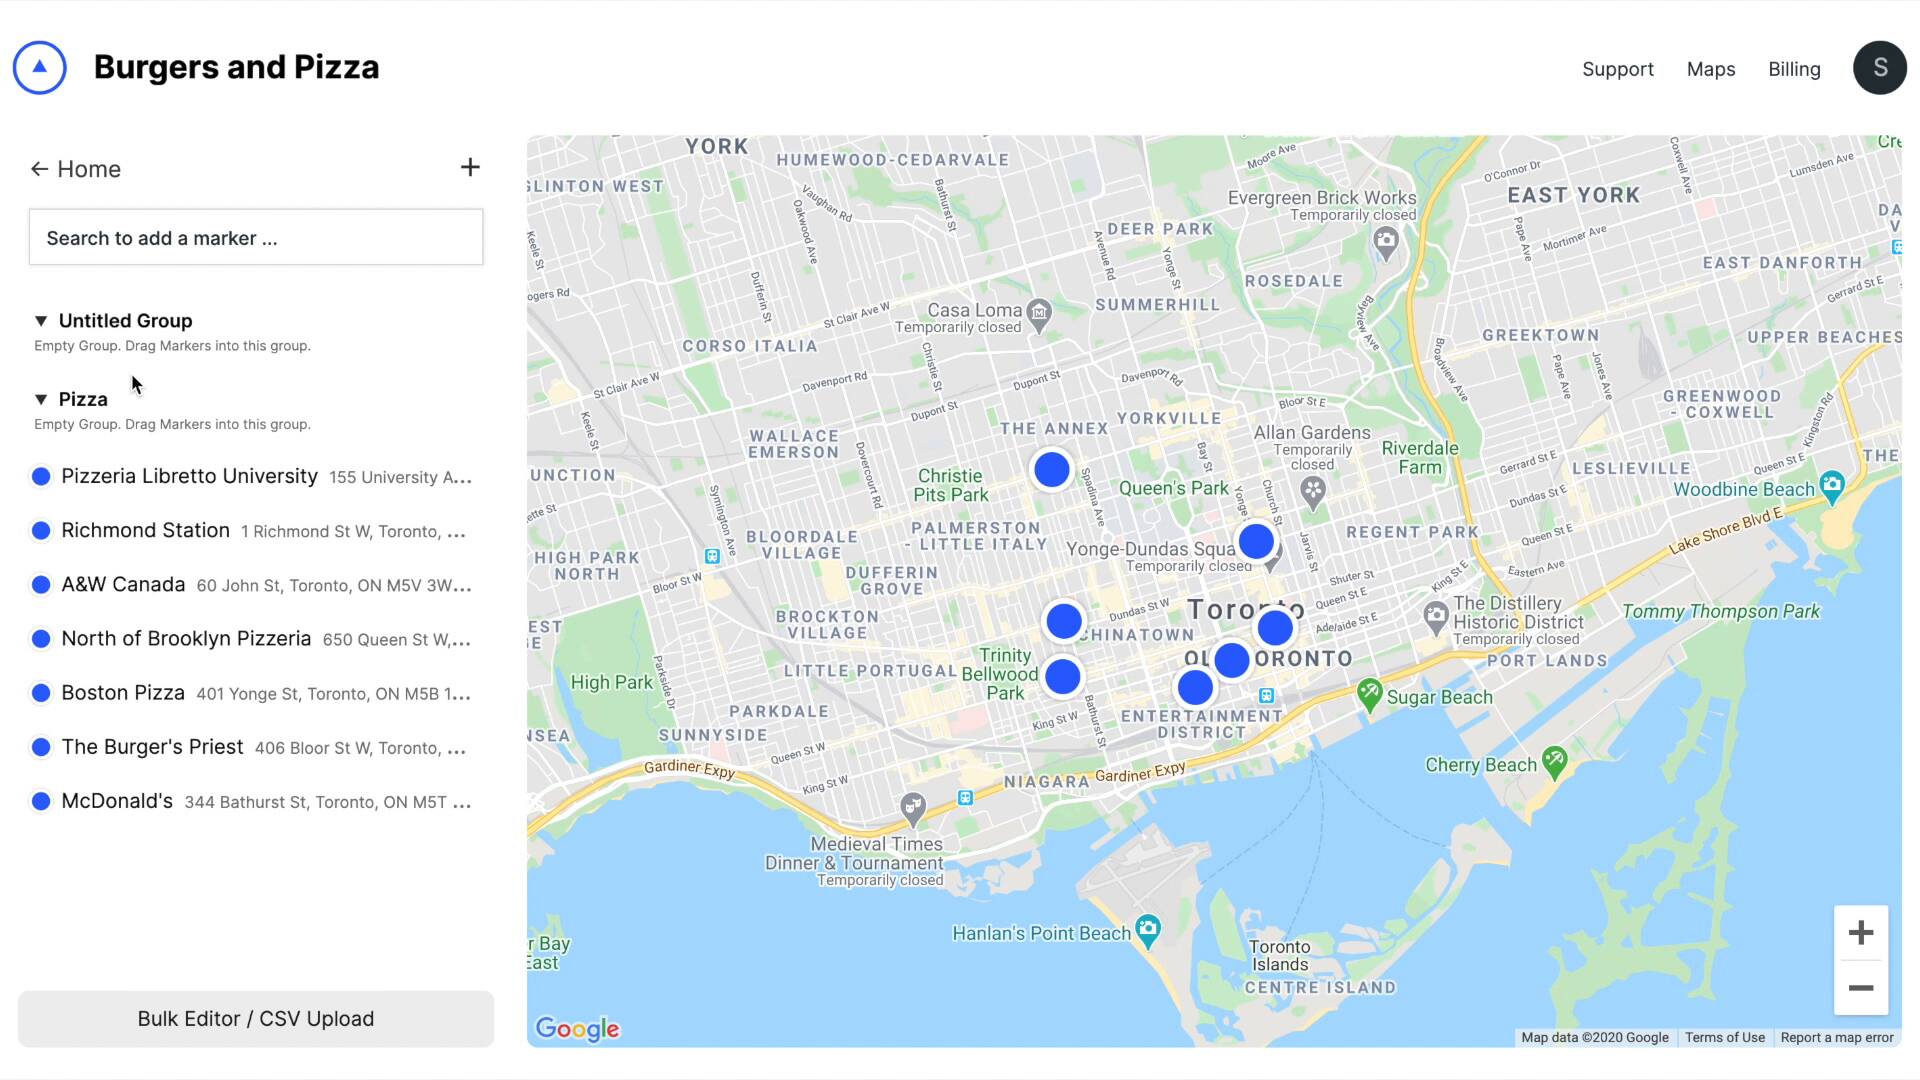

Now if you have many markers it can be painful to add them by searching for each individually. Instead you may want to upload a CSV.
To upload a CSV, click Bulk Editor / CSV Upload (below) and then click the Import From CSV button:

You can always upload a CSV in the bulk editor.
What is a CSV? — CSV's are plain-text spreadsheets. It's a universal format and Google Docs, Apple Numbers and Microsoft Excel can all export spreadsheets as a CSV.
2. Customization & Style
Next up we are going to make some customizations to the map— each of these are optional, so you can skip this step.
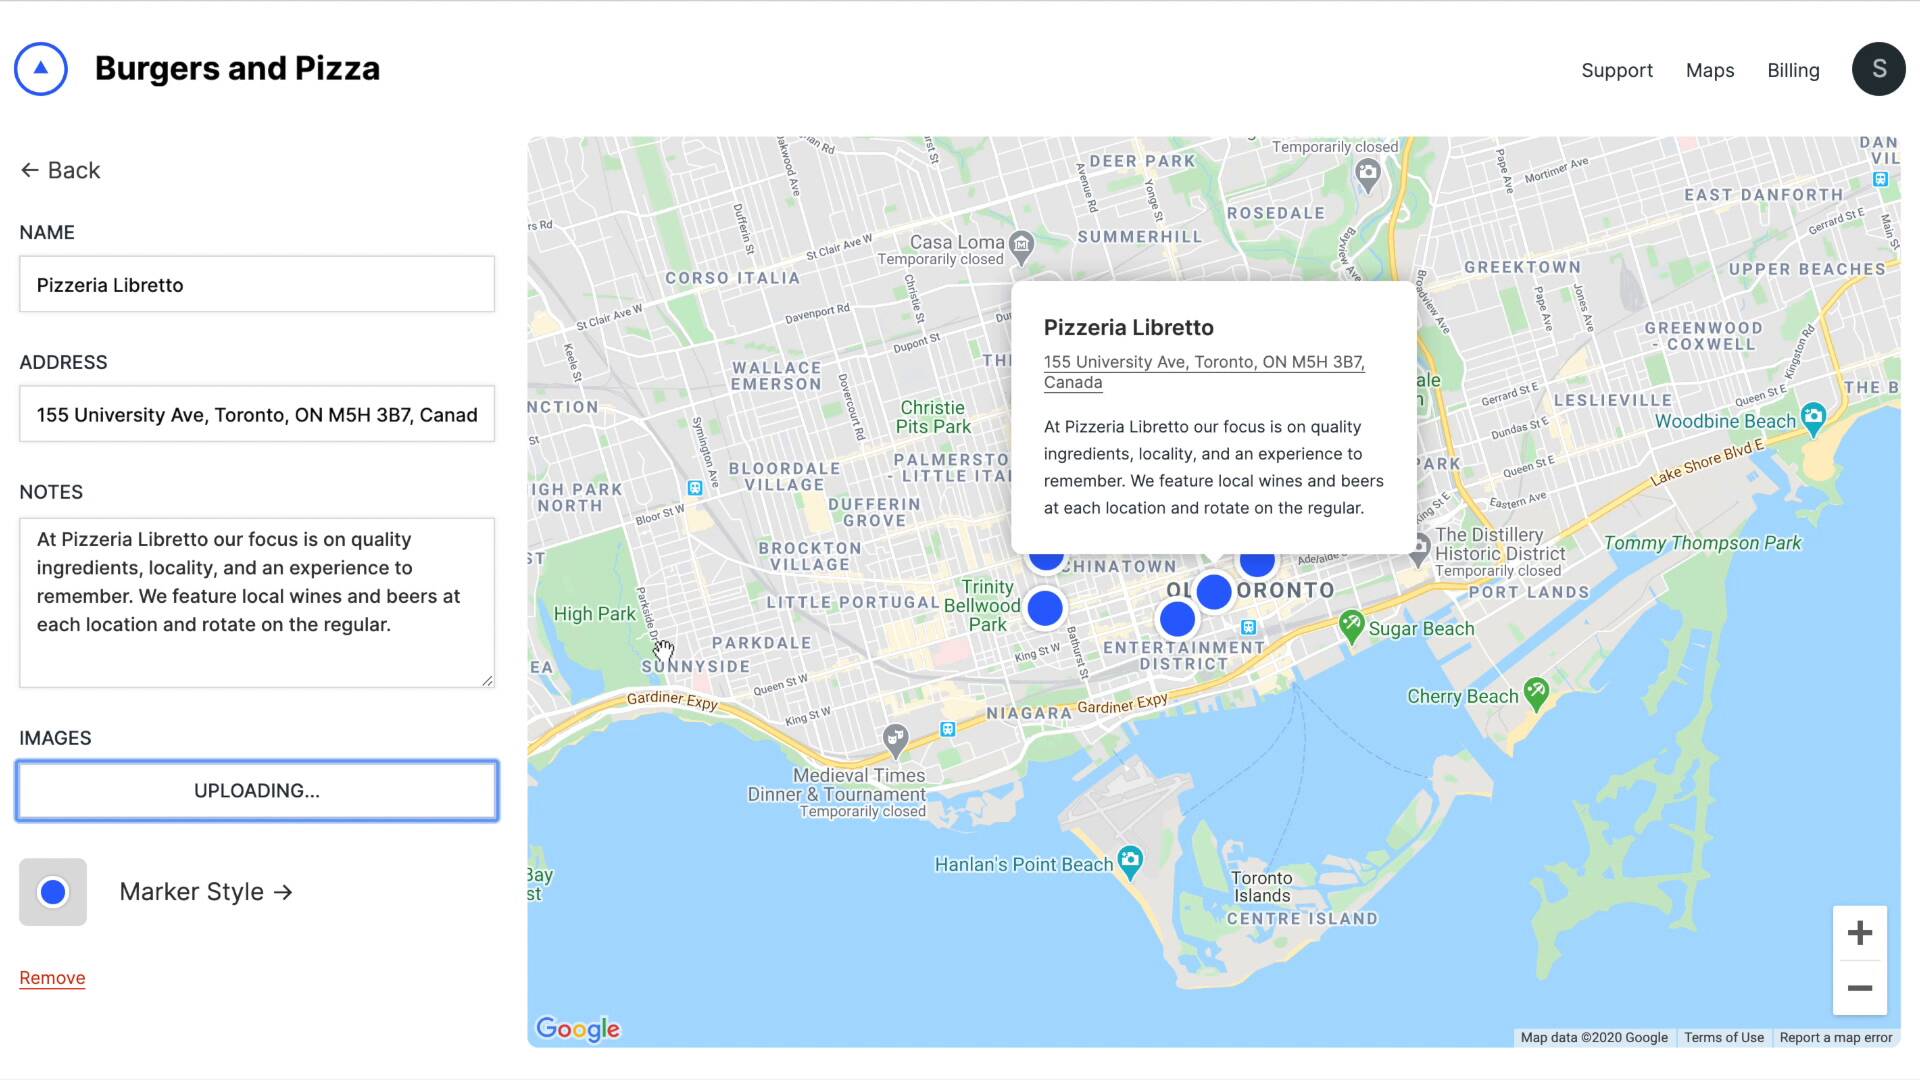
Photos and Notes — Each marker in your map has a modal window— a pop up window displaying more information. Here we'll add some photos and a few notes to Pizzeria Libretto's modal window:

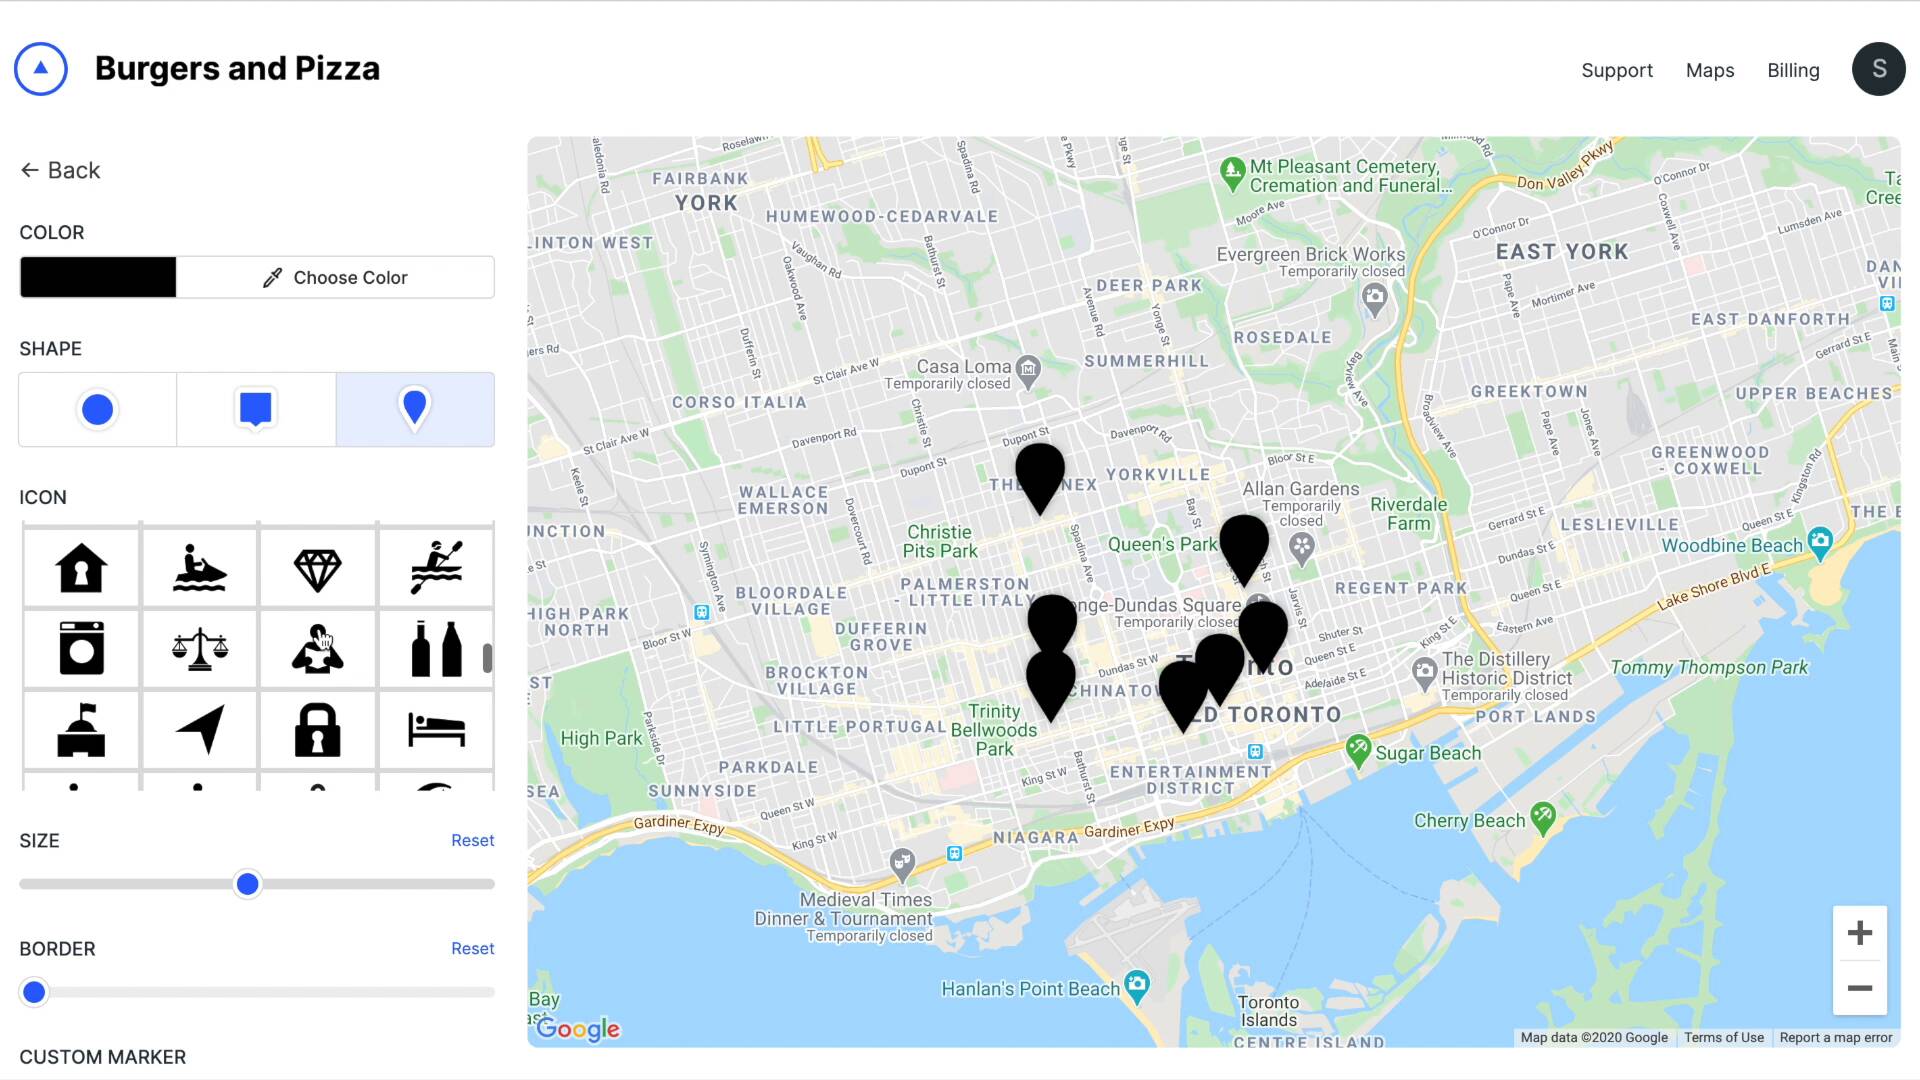
Default Marker Style — With Atlist we're not stuck with the default marker look and feel. We can customize it however we would like. Let's change the default marker style:

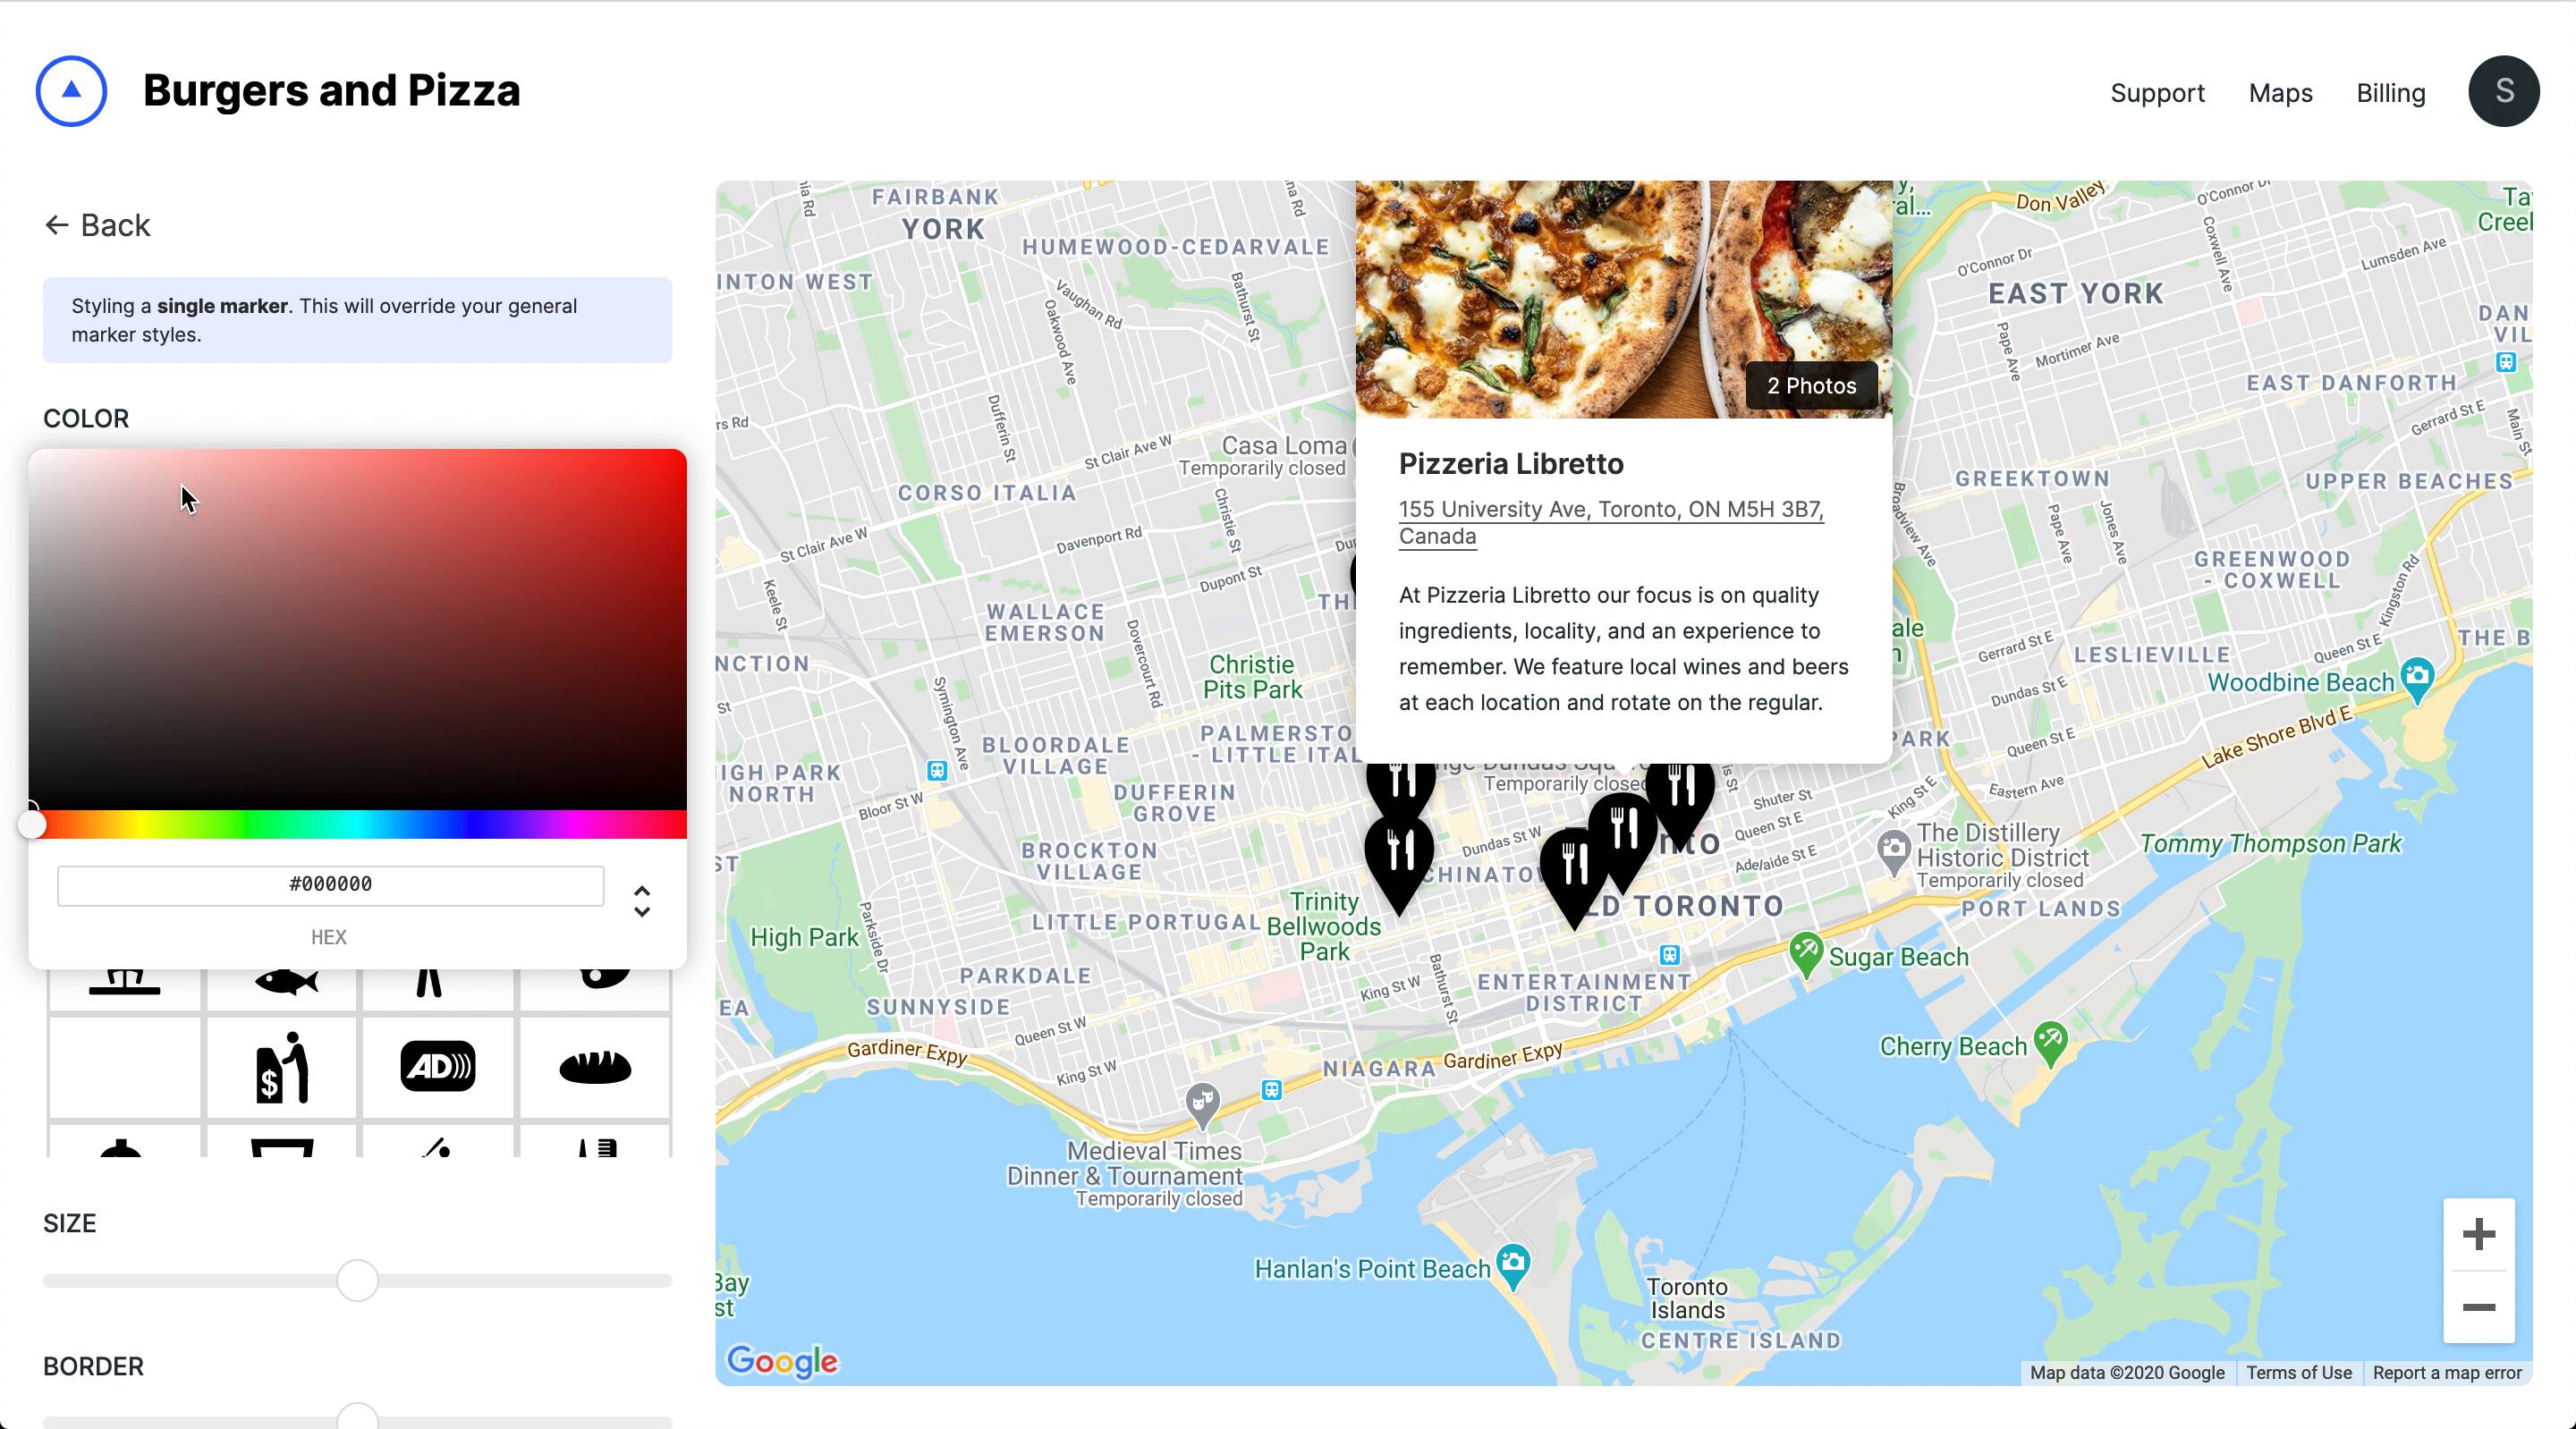
Individual Marker Styles — You can also give individual markers their own style:

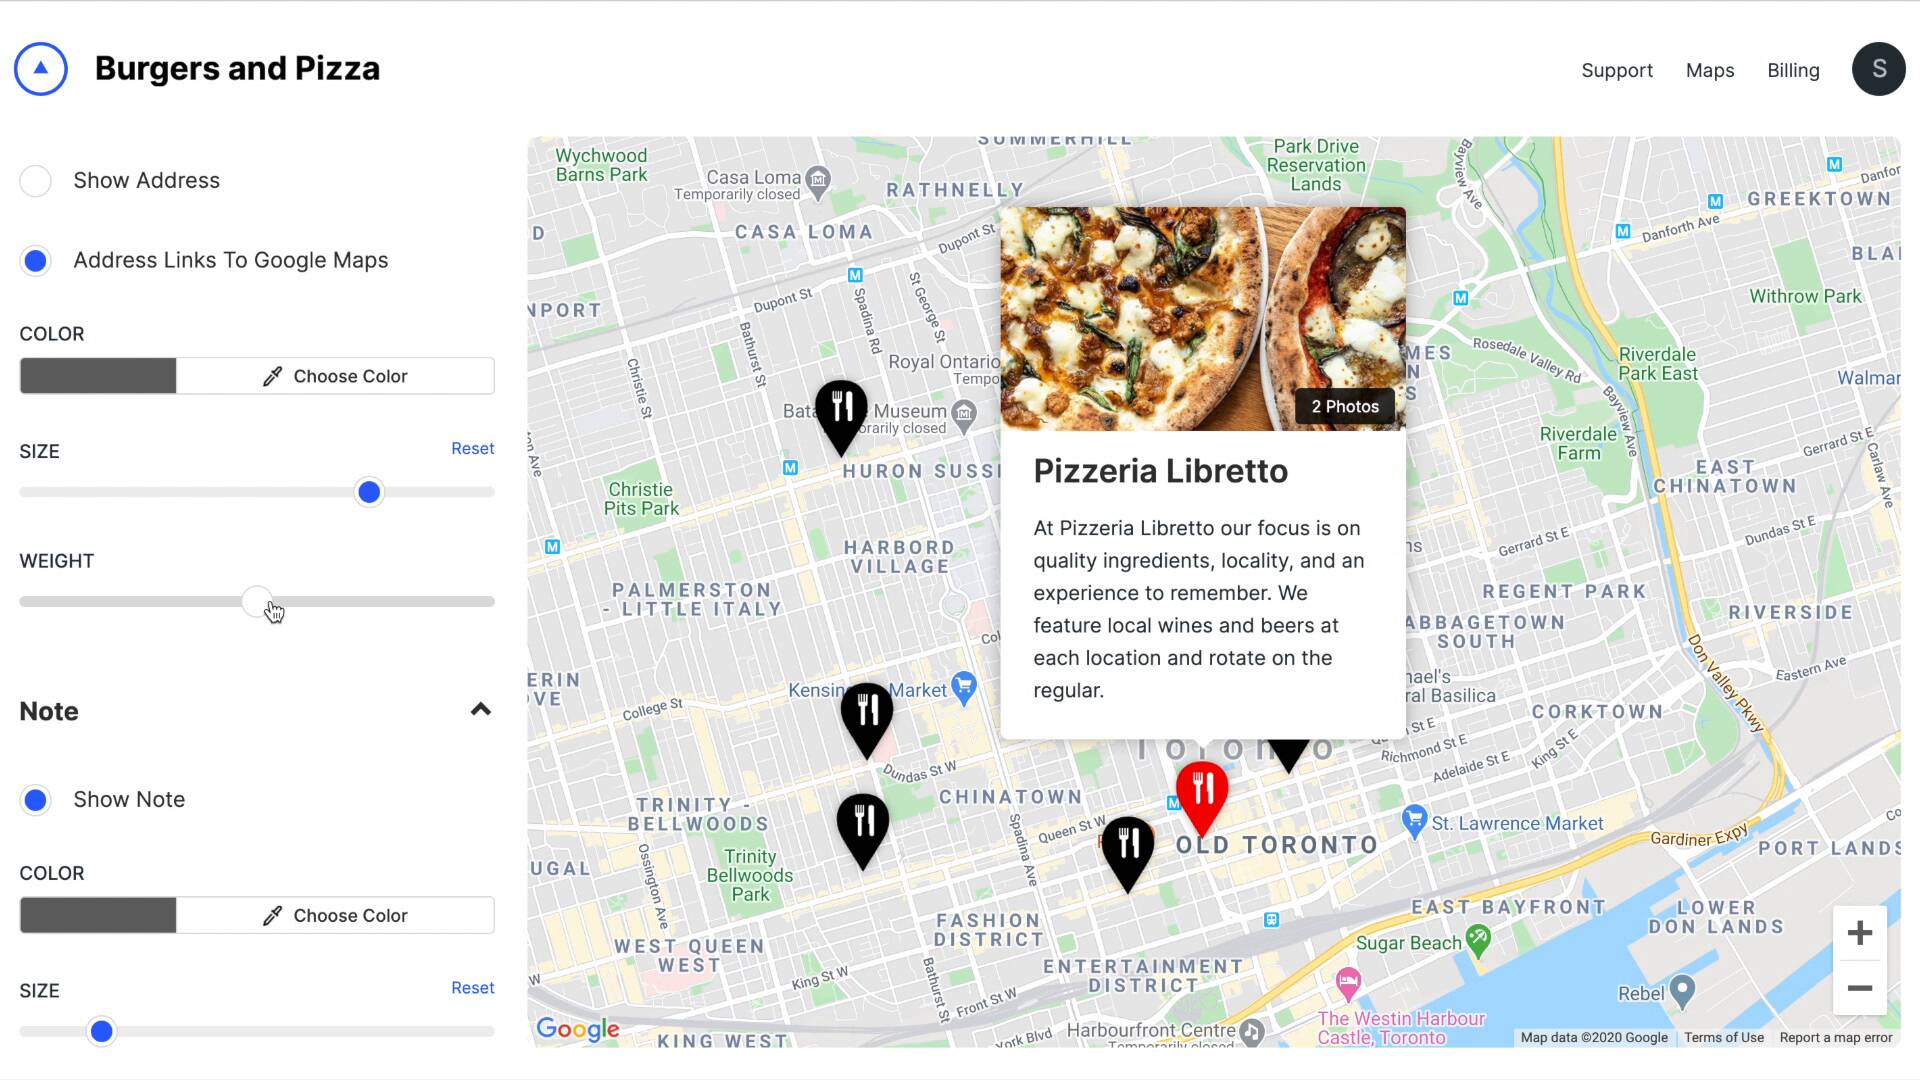
Customize Modal Window — Modal windows can also be totally customized:

Map Style — And finally let's make some changes to the map style:
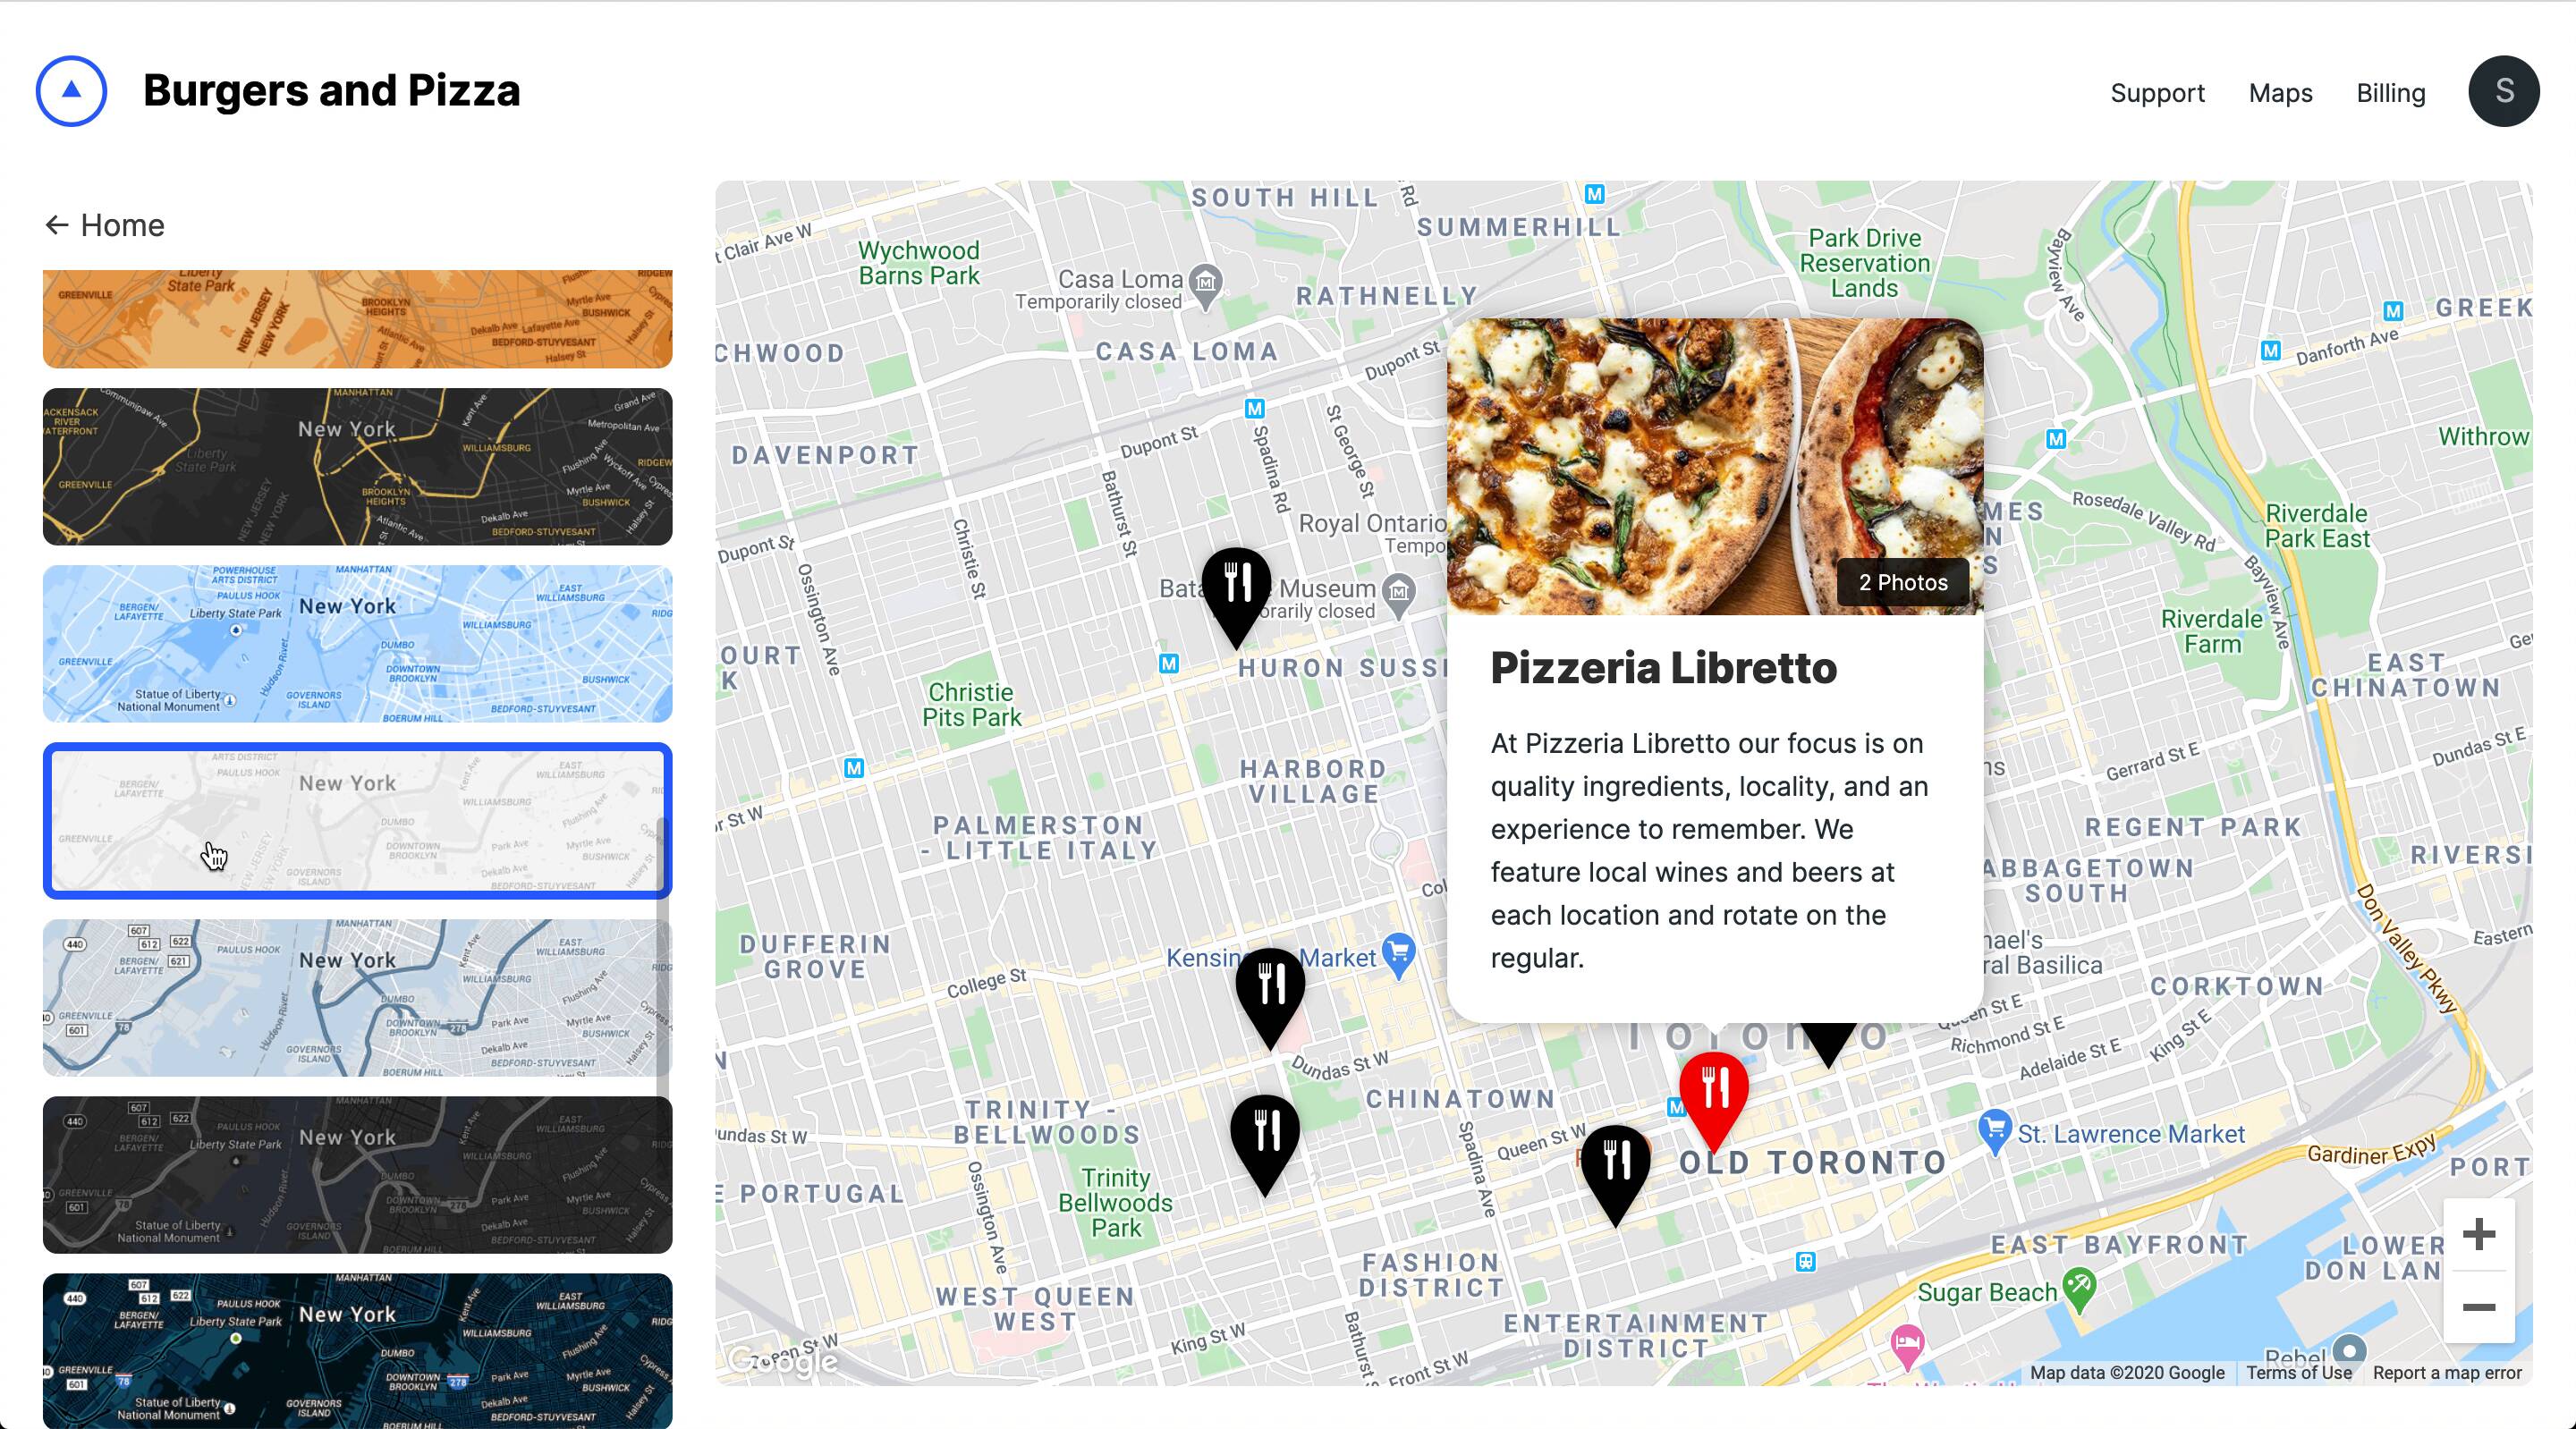

There we go. Now the map has some personality!
3. Embedding
With Atlist you can share maps in two ways:
- Share the maps public URL
- Embed the map on your website
Here's where to find the public URL and the embed code:
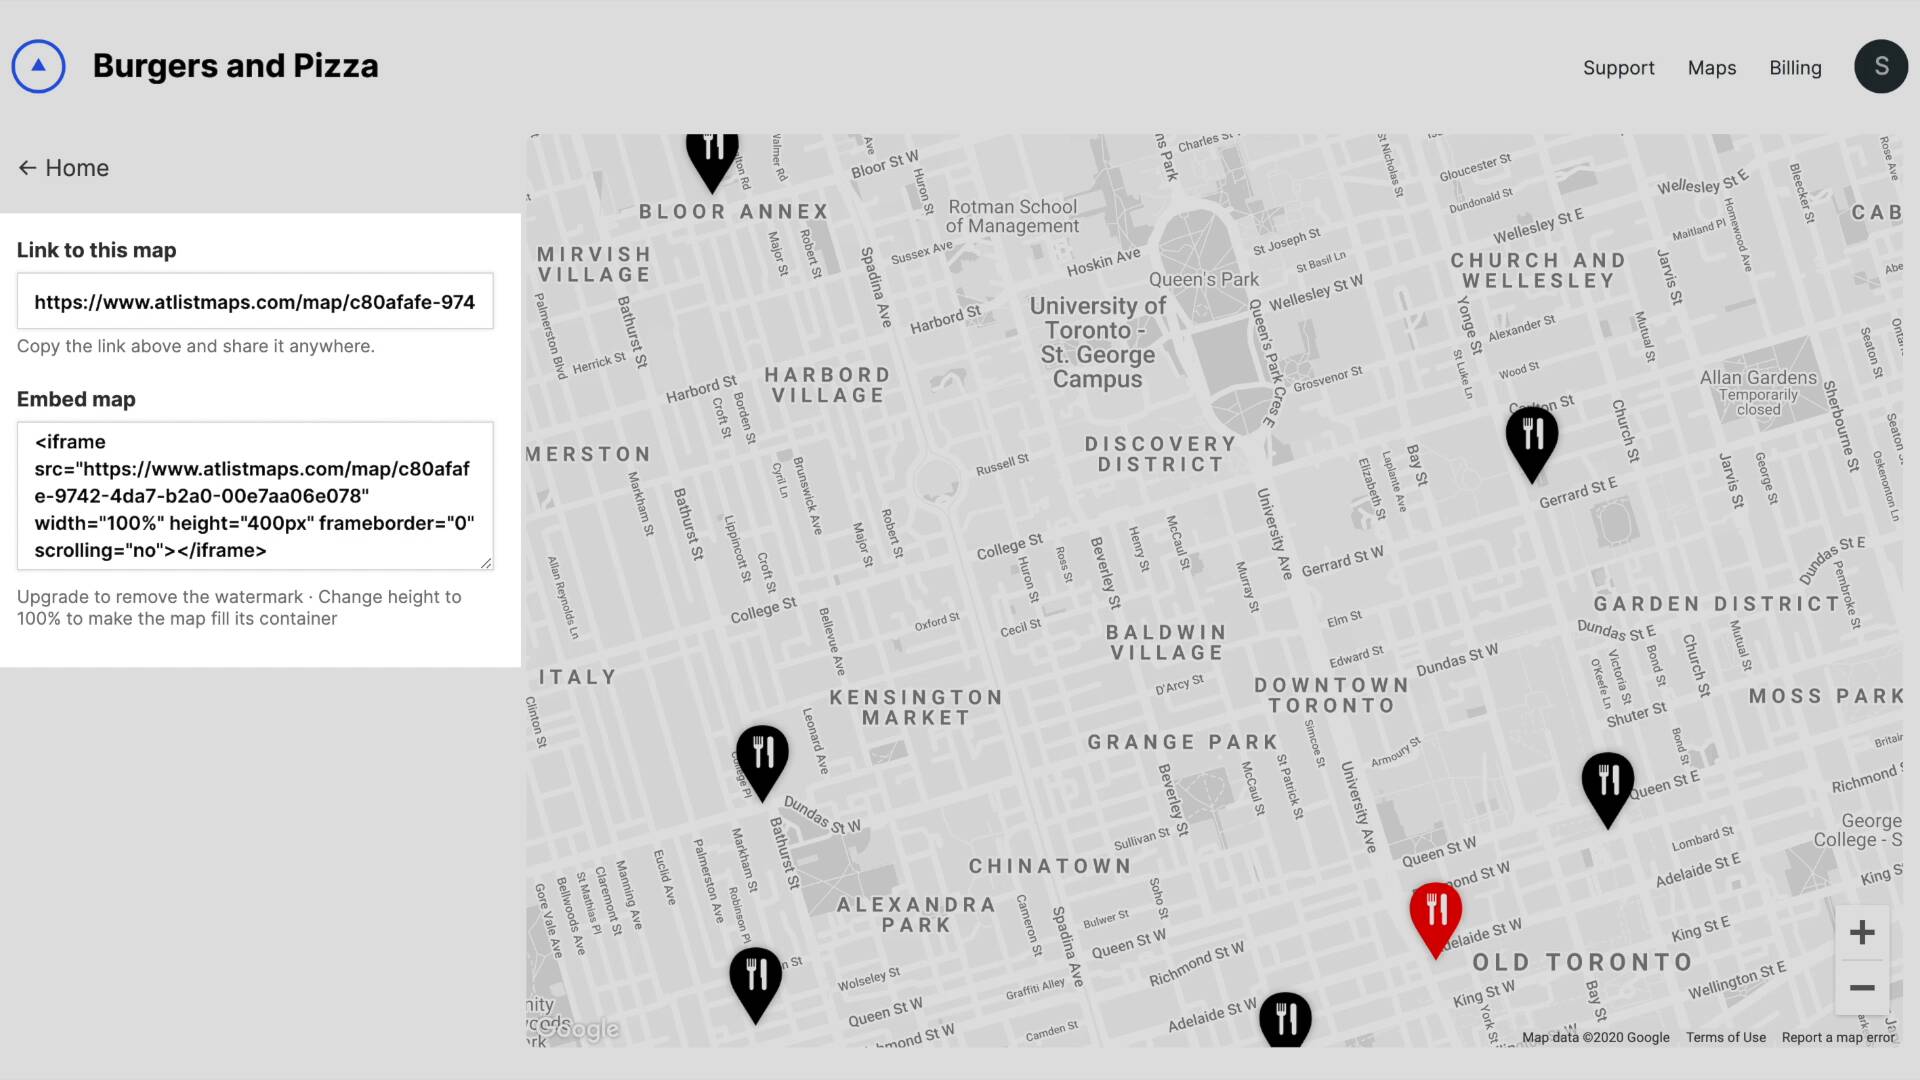

To embed the map you'll need to copy and paste the embed code code into your website. Important: you need to paste this into code— not into a text editor.
Most website builders like Wix or Squarespace will include a code block— and that's where you need to copy and paste the embed code. For example, here's how we'd embed the map using Squarespace's Code content block:
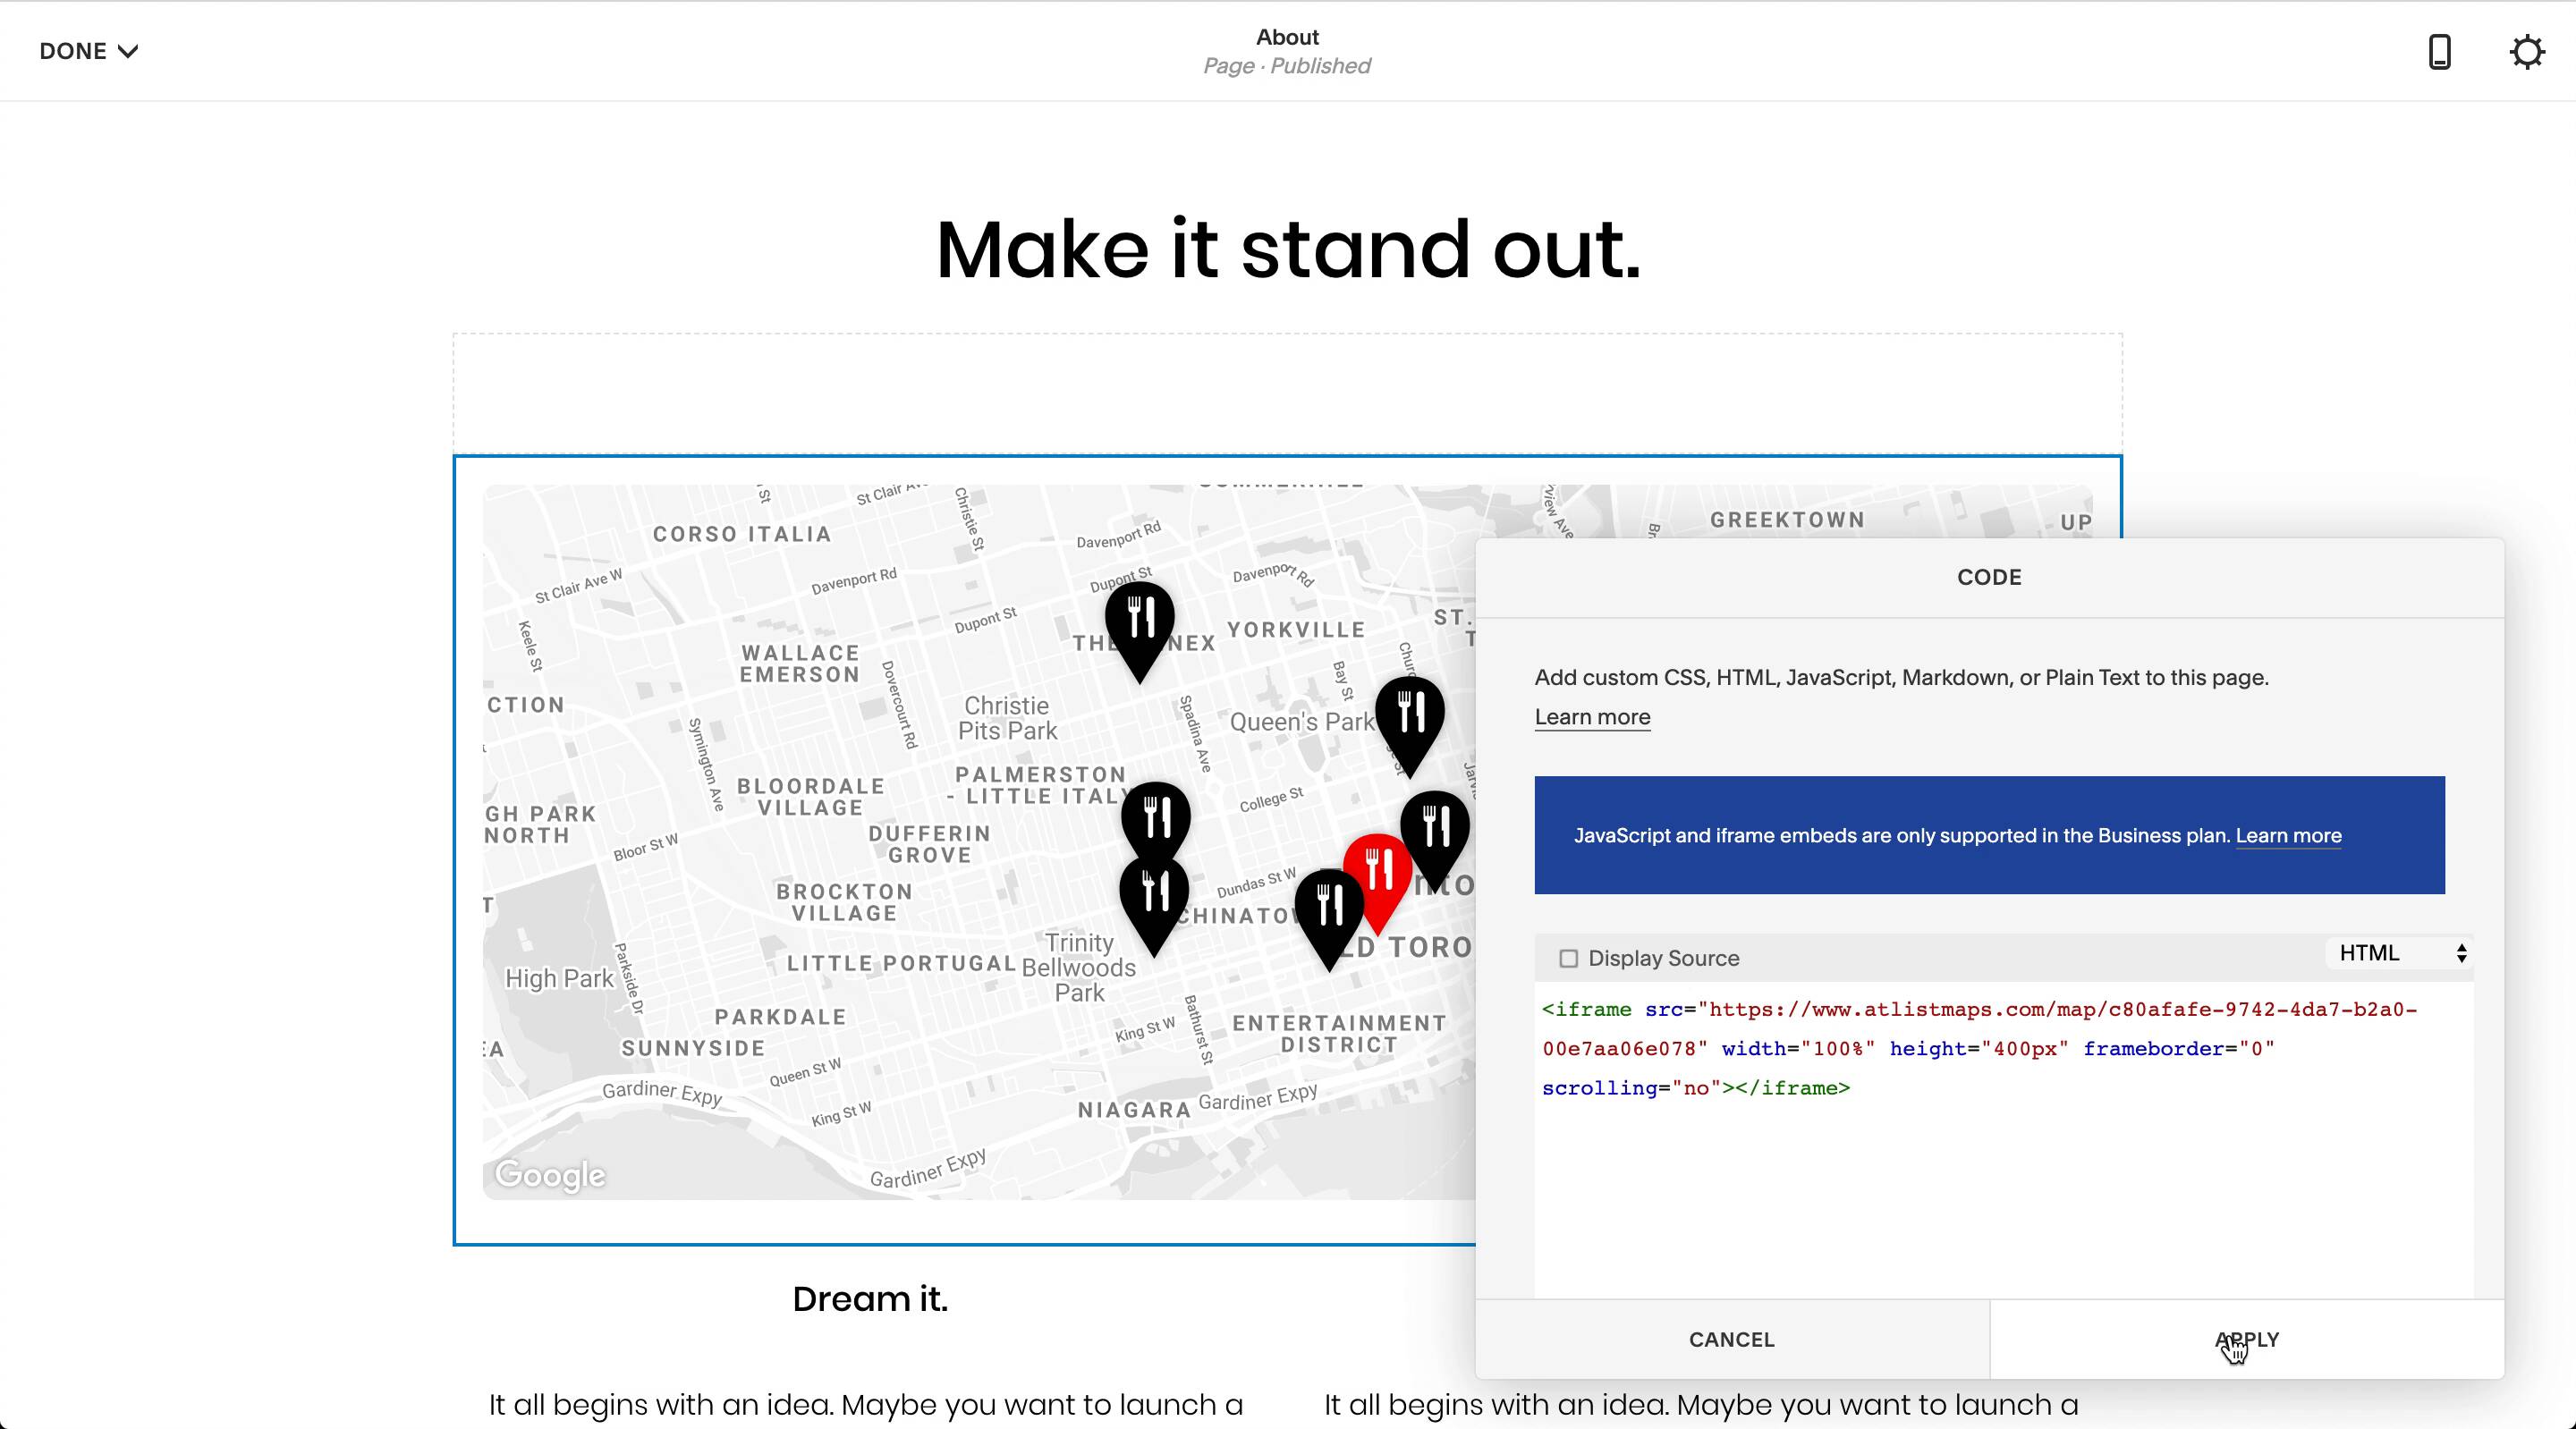

You always can change the embedded maps height and width. Just adjust the width or height in the embed code. You can set them as a percentage (which fills up the available container) or as a pixel (which sets an exact size).
Once you have it set the way you like, you're good to go!
Notes
- Try Atlist at Atlistmaps.com.
- Atlist maps on a free plan include a small Atlist logo in the top left of your map. You can upgrade to remove that.
- You don't need to re-embed your map every time you change it. Maps will automatically update.
- If you want to add markers by latitude and longitude you can do it in Atlist's Bulk Editor.
How To Create A Google Map With Multiple Markers
Source: https://www.sitebuilderreport.com/multiple-marker-map
Posted by: ozunaweland.blogspot.com

0 Response to "How To Create A Google Map With Multiple Markers"
Post a Comment